Skip to main content
Search
Search This Blog
Lorajean's Magazine - BLOG
Posts
Showing posts from November, 2010
Show all
November 30, 2010
How to make a doily
November 27, 2010
Salt dough christmas cookie ornaments
November 24, 2010
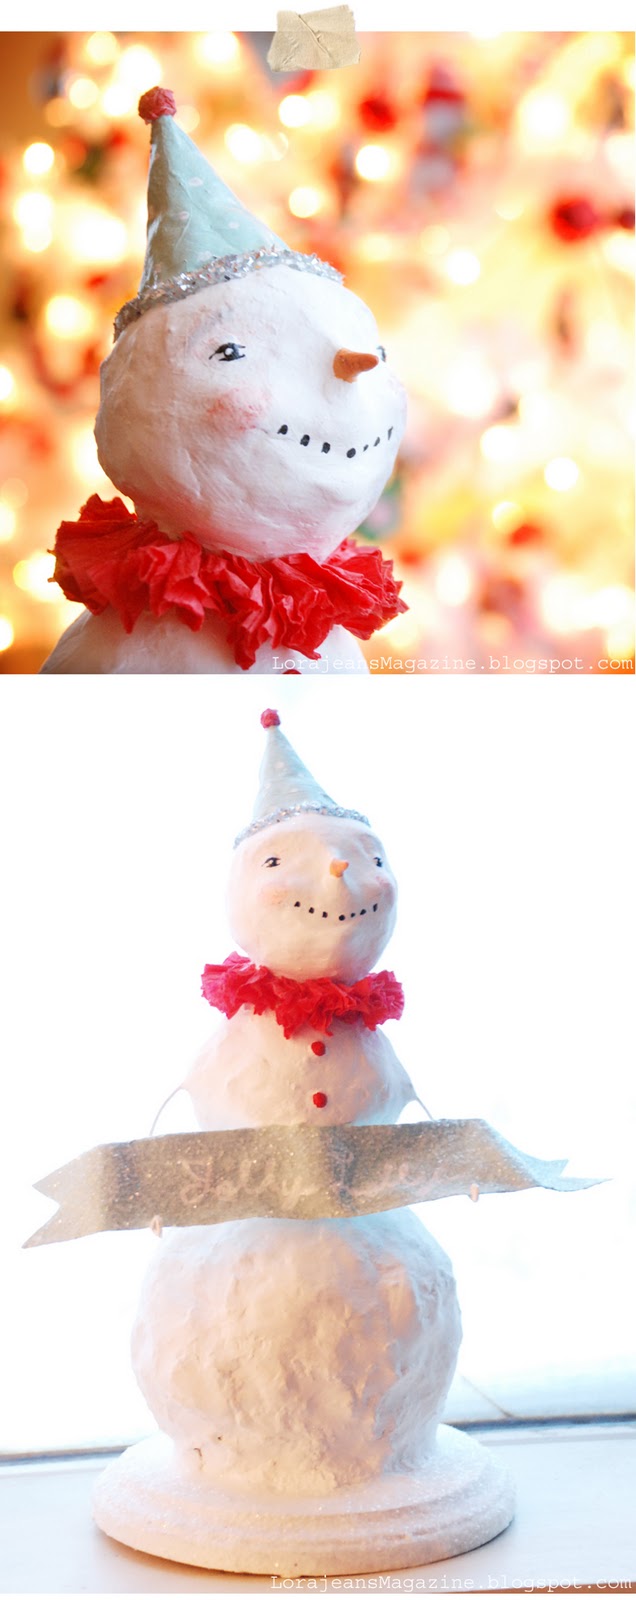
a paper mache snowman
November 18, 2010
Harry Potter birthday party
November 17, 2010
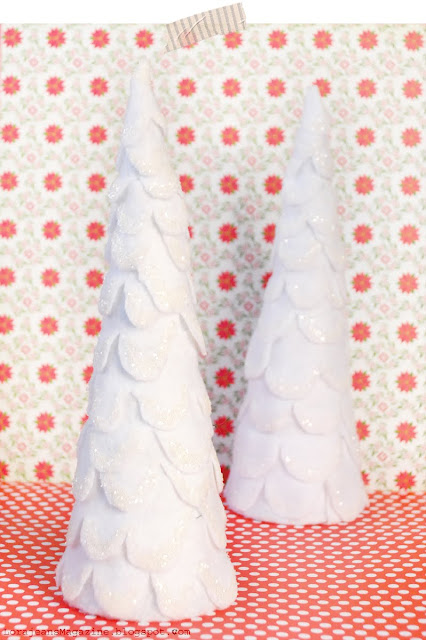
Tis the season...
November 15, 2010
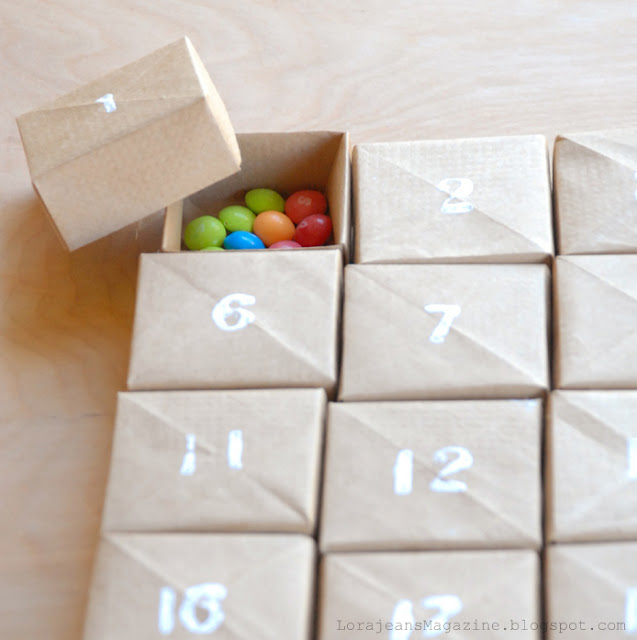
origami advent
November 06, 2010
Felt Flower Tutorial
November 04, 2010
Lovely
November 03, 2010
A great idea
Newer Posts
Older Posts
Home