Skip to main content
Search
Search This Blog
Lorajean's Magazine - BLOG
Posts
May 03, 2011
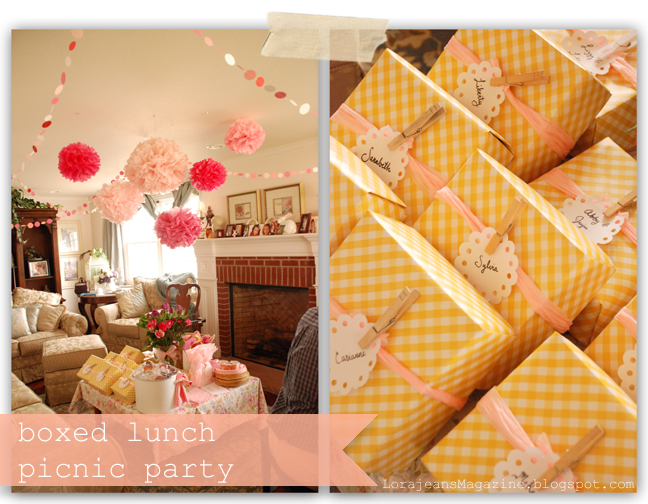
Boxed lunch picnic party!!
April 21, 2011
Check it out
April 17, 2011
what I am up to right now
April 13, 2011
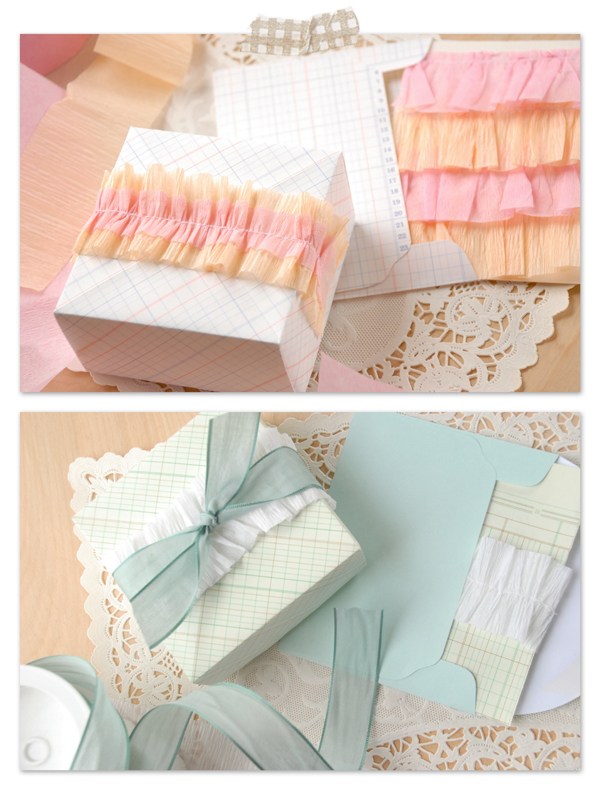
Tutorial: ruffled crepe paper streamers
April 11, 2011
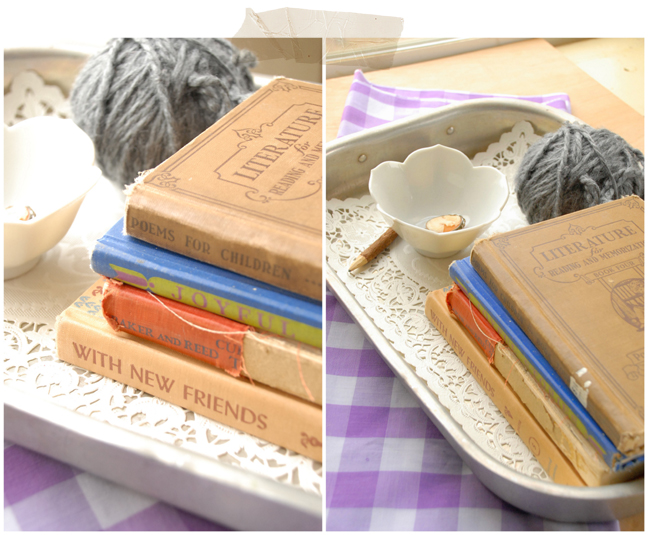
vintage school books
April 06, 2011
Made by you: Doily craft and crocheted gnome hat
April 05, 2011
Tutorial: How to make colorful yarn rope
March 28, 2011
It's all in the family
March 23, 2011
spinach smoothies
March 21, 2011
Making progress
March 16, 2011
Fresh whole wheat waffles
Newer Posts
Older Posts
Home