Monday, March 28, 2011

It's all in the family

Just take a look at these lovely parties my sisters threw for my nieces and nephews.

This party is one my sister D-lyn put together. The fish are so totally awesome, right?! I love the fabric choices. I am a lover of new spins on the flag banner or bunting; a party must! And just look at that spread! The cupcakes aren't your normal cupcakes either; they are key lime and pink velvet, YUMM!


And this party is one my sister Mer threw. I love the idea of a cereal bar! This spread is so sophisticated but add cereal, pj's, and cartoons and it becomes so relaxed. I love the challenge of planning a designer party around the kids' random requests and Mer did a great job!

Wednesday, March 23, 2011

spinach smoothies

We are trying to have more healthy habits at our house so a spinach smoothie was a good way to get our sugar fix. All I did was put milk, bananas, frozen strawberries, and a huge hand full or two of fresh spinach, in the blender and we were set. Super easy! And super YUMMY! :) 
( P.S.you cant taste the spinach, it's like its not even there.)

Monday, March 21, 2011

Making progress

I am making progress on this bunting / pendant quilt for my daughter. Piecing it is turning out to be pretty time consuming though. Since this is my first quilt I probably should have made a more simple pattern. :) You know, one where you use short cuts and sew more than one block at a time. Here is picture I took after I put all the colored pieces out on the back of another quilt to see what order I wanted to put them in. I really like how it is turning out. :)

Wednesday, March 16, 2011

Fresh whole wheat waffles

I have never really celebrated St. Patrick's Day and I'm not really in the decorating mood right now; maybe it's the spring cleaning bug that makes me cringe. The thought of filling my house with more pointless junk, especially for a holiday that I am not really familiar with, is not very motivating.

So I started thinking of different ways to celebrate St Pat's Day, and with the earthquake in Japan reminding us how life can change drastically in 30 seconds, my first thought was... 

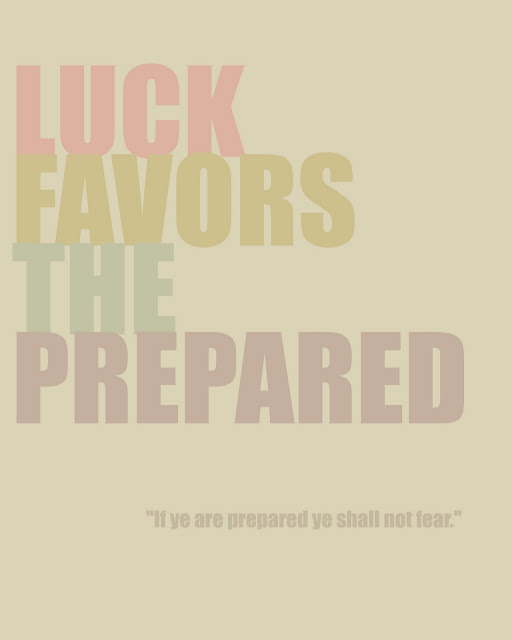
  (I decided to make a poster for you to download if you want. I made two color schemes for fun, two with a scripture and two without. Click images to save larger files.)
 

With "luck favors the prepared" as my theme I thought I could share a few ways to be a little more prepared for whatever the future has in store for us. After the quake in Japan I am even more aware of the five or so fault lines that Cache Valley is sitting on, and it almost makes me want to hide under our dining room table or stand in a doorway all day with my kids. Scientists say we have been overdue for a big quake for awhile. : ( I want to be ready for whatever comes our way but I want to live each day to it's fullest.

So, we wanted to get ourselves prepared, one step at a time..."baby steps", as Bob says in "What About Bob" (great movie, by the way):

"Baby steps, get a wheat grinder,"
"Baby steps, grind the wheat..."
etc, etc...

To be prepared for a power outage, we chose to get a hand-crank grinder. We've read that you get what you pay for when it comes to these things, and we paid about $65 for ours. It's a good one.
After finding out that flour loses 100 percent of its nutrients 30 days after it is ground, Trent and I have been trying to eat freshly ground whole wheat foods more often.  We also wanted to find more ways to eat what we store. We store salt, baking soda and powder, canned tuna, canned fruit, oatmeal, pizza/spaghetti sauce etc.. and eat it just fine; it was our wheat that was never ever used.  First, because we didn't even have a wheat grinder, but also because we had no idea what to make with it besides bread. Well, we finally got a hand crank wheat grinder and I have to say that we love it!  The kids love helping grind; also, starting the day grinding our wheat is really rewarding, and the repetitive motion is actually quite soothing. :)  (It takes us about 10 minutes to grind 4 cups of flour. The photo below shows Trent reading the morning paper while grinding wheat).
Today I am sharing our yummy recipe for whole wheat waffles made using freshly ground white wheat. I don't consider myself a waffle expert but I have never tasted waffles this good! Seriously, the best waffles we have ever had! Before we got the grinder we had been putting whole wheat flour in our pancakes, but only half whole and half white flour because they are too heavy and taste dry and like cardboard. But with freshly ground wheat you can use 100% whole wheat and they stay fluffy and moist, and taste like heaven! :)

Before giving you our waffle recipe, I want to mention that I realize that not every ingredient is in a typical long-term food storage pantry; but we raise a few chickens for the eggs, and a family goat or cow would supply more than enough milk (we're just thinking ahead here...y'know, more "baby steps", although buying a cow is a bit of a bigger baby step).

MATERIALS:
Belgian Waffle iron
Wheat grinder

INGREDIENTS:
2 cups of fresh whole wheat flour ground from white wheat
4 eggs
1 3/4 cups milk
1/2 cup vegetable oil
2 tablespoons of granulated or brown sugar
3 teaspoons of baking powder
1/4 teaspoon of salt

Preheat your waffle iron.
Put all ingredients into large bowl and stir till well mixed.
Pour batter into hot waffle iron and cook till golden brown. (About 3-4 min. for mine.)
Be sure and spray iron with cooking spray between waffles or they will stick.
* * * 
Every step we take towards preparedness makes a noticeable difference in how secure we feel. Taking a single "baby step" empowers us so much, and makes the other steps so much easier to envision and accomplish. Try it out!

...Coming up soon: "Baby steps: make a passive solar space heater out of aluminum cans"

Monday, March 14, 2011

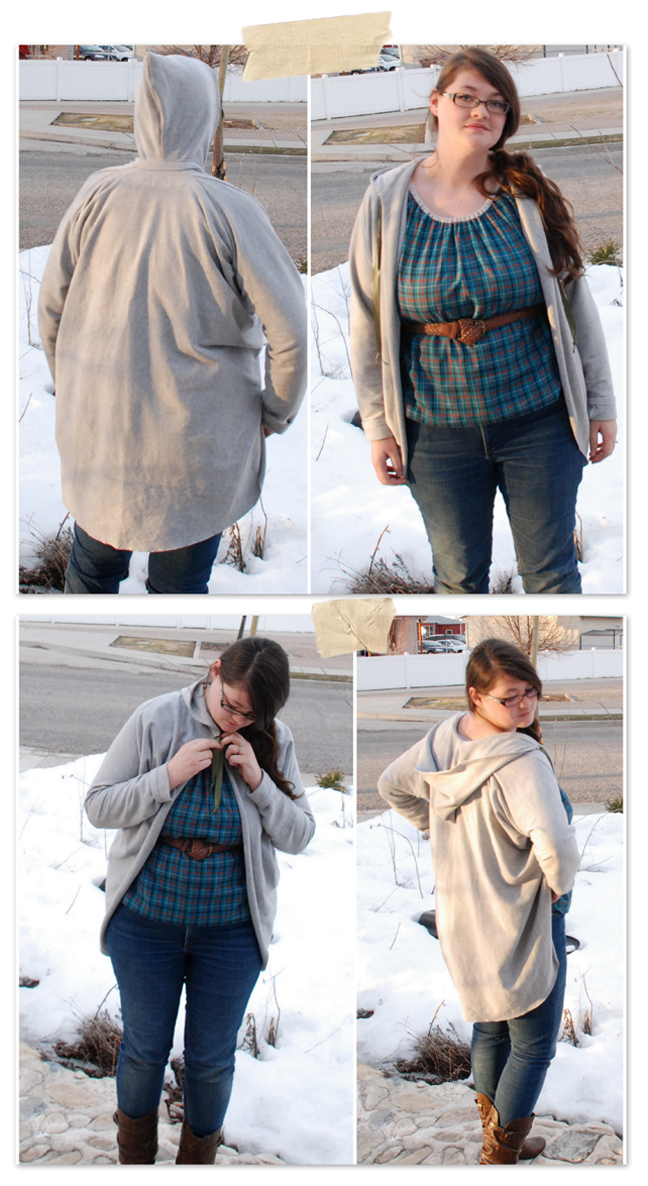
My own jersey slouch hoodie

Some of you might recognize this jacket from the tiny one I made for my paper mache sculpture girl Jenn.  It is was so cute and super easy to make that I had to make one for me! :) I just wish I had taken photos along the way, then I could have made a tutorial for you. I might make one for my daughter though, if I do I'll make sure and take photos along the way. :)

Friday, March 11, 2011

Vintage needlecraft magazine

 I have had this Needlecraft magazine for a while and thought it would be fun to share a few of my favorite pages with you. It has a lot of great knit and crochet patterns, and I look through it all the time for inspiration. Maybe someday I will finally get to work on some of the projects I have been swooning at for so long.

 The blue granny square girls dress is so adorable, I really want to make it!  I also love the cardigan and striped pants. OK the pants are a little much be the cardigan is perfect! It even has the right initial for my daughter.  
Get a hold of that super awesome play mat! I want one! Just look and the fat little houses! Adorable! :)  And check out that knitted doll, she is just so gorgeous and timeless. Lovely.
 
The magazine is full of great cardigans and sweaters. (It also has a few scary ones but I left those out. :) )
These tunic patterns are super cute. I really like the one with the southwestern pattern. It looks like something Gretchen Jones would design, except maybe not in those colors. Thanks for stopping in!

Monday, March 7, 2011

Home school: Rainbow fun

For part of home school a few weeks ago we had some fun with color and light. My 2 oldest are 6 and 4 so we tend to keep things hands on and fairly simple. First I gave the kids food coloring in red, yellow, and blue, to add to 3 cups of water.  I asked them to make the other colors of the rainbow by mixing the colors they had. They had fun figuring out what combinations make what color. The purple would have looked better but it got some extra colors in it. :) (This part of the lesson was a huge hit because I usually never let the kids pour water back and fourth between glasses.)  Next we put the cups in rainbow order and learned about why the rainbow is always in the same order. Then we painted watercolor paintings of rainbows using only the primary colors. We made sure to overlap the paint to create all the colors in the rainbow. ( I forgot to photograph the paintings but they were lovely, and super fun to make! )
The second part of the lesson was making rainbows with light instead of food coloring and paint. We used a plastic Christmas tree ornament to catch the suns rays, I was prepared for disappointment but I was surprised at how well the plastic "crystal" worked. We taped the ornament onto a dark blue paper and then onto the wall right next to a shadow so the rainbow would be easier to see. They were so bright! We were all amazed at the beauty of the rainbows. :)